You can try out a wide variety of modifications to your device once you have rooted it by flashing the Magisk-patched boot.img using Fastboot Commands. Custom ROM flashing, custom recovery installations (like TWRP), and custom kernel flashing are all examples. Additionally, you can flash Magisk Modules, Xposed Framework, Substratum Themes, Viper4Android, and similar apps. But this is only one side of the argument. There are drawbacks to this approach. An unlocked bootloader is the first step in the rooting process. If you do this, your device’s warranty will be voided and you’ll lose access to any data stored on it. As such, rooting will trigger the Knox, which could prevent apps that rely on it from working. If these shortcomings don’t bother you, the tutorial to root One UI 5.0 can be found beneath.
Steps to root Android 13-based Samsung One UI 5.0 using the Magisk Patched ap
Step 1: Unlock the bootloader
Step 2: Download the One UI 5.0 stock firmware
Step 3: Install Magisk and then check Ramdisk
Step 4: Patch the Samsung AP File
Step 5: Send Patched AP TAR to PC using ADB pull
Step 6: Boot your device to Download mode
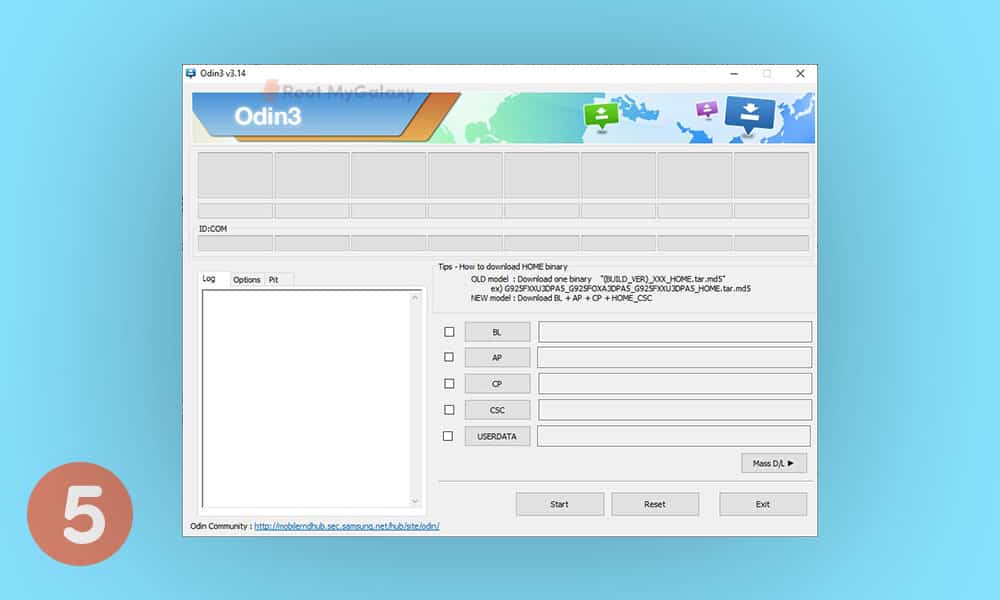
Step 7: Install Odin
Step 8: Flash the patched AP and then root Samsung One UI 5.0
Step 9: Boot to Stock Recovery for enabling Magisk
Step 10: Complete the Magisk setup
This concludes our tutorial on using Magisk to gain root access on a Samsung device with the One UI 5.0 based on Android 13. Please let us know in the comments if you have any questions about the procedures outlined above.
